Web Guide - First Steps and Common Errors
Use of the web
The first step to use the web must be to proceed with the login. If we have not registered, we must create an account and register:
Login options and create account
To make use of the operations, it is necessary to register. To do this, you have a login option or create an account, in the upper right:

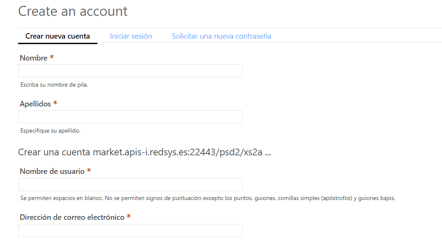
Create a user account
To register an account, we click on the option Create an account. The process would be from a common registry, with an email and password:
Sandbox operations
Once we have logged on the web, it is necessary to have applications available and that these are subscribed to a plan, in order to use the available operations to use them.
Registration of an application
To register an application, simply access the "Applications" tab:

If there are no applications available, an empty list would appear, and a "Create application" button. We click on “Create application:

We complete the required data (It would be enough to put a title) and click "Send":
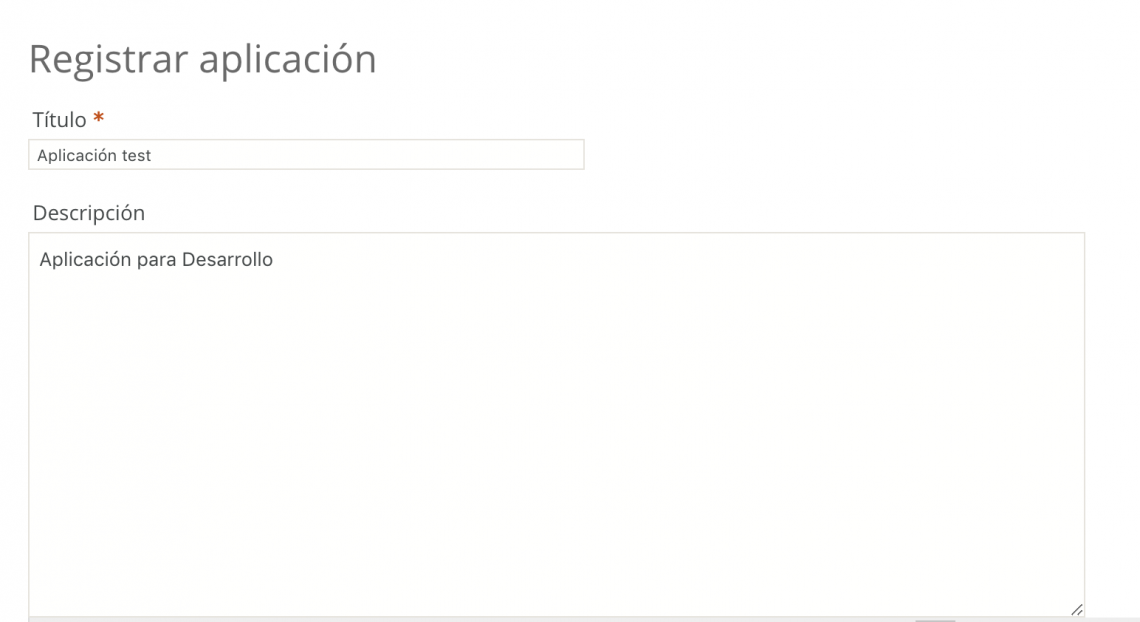
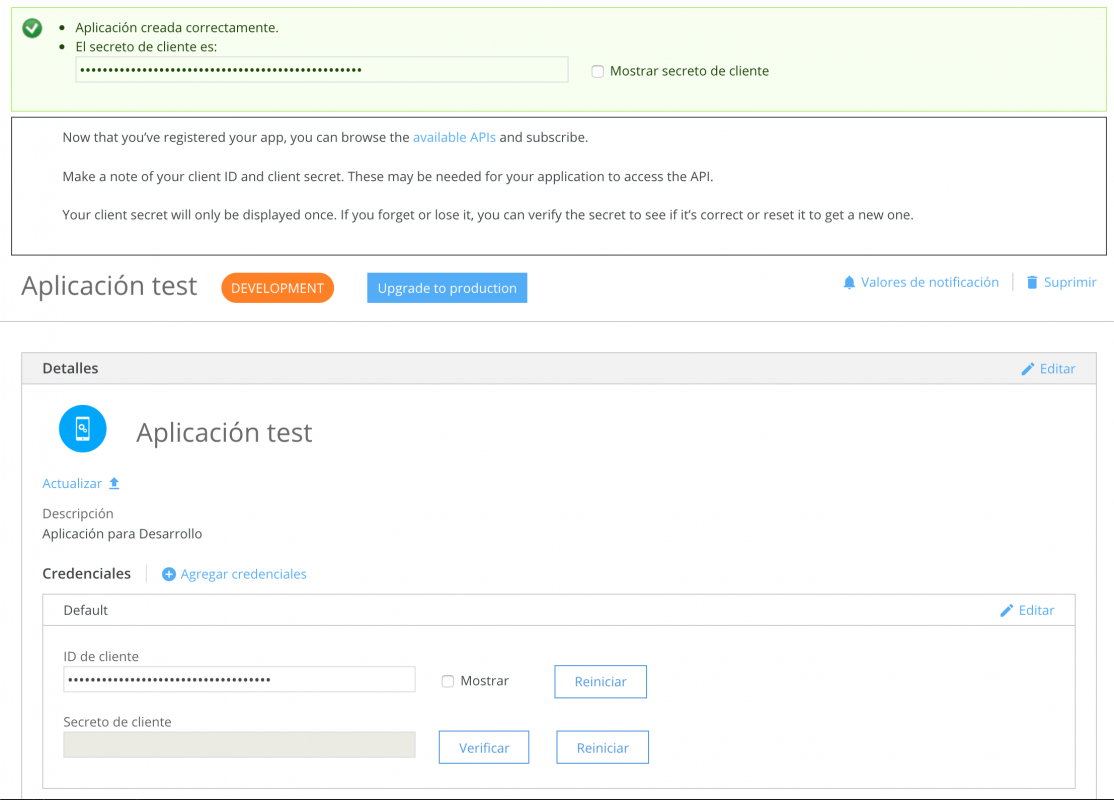
We create the application:
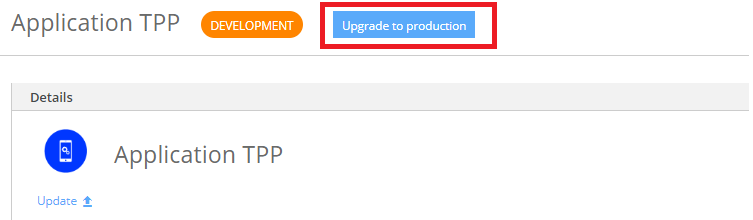
'Upgrade to Production' notification
Optionally, the TPP can notify the service that it will start sending operations in the production environment.
This is an informative action, used for statistical purposes. It is not necessary to perform this action to start using the service in production.
To perform the action, in the details of the application, the TPP should click on the "Upgrade to production" button.
Subscription to a plan
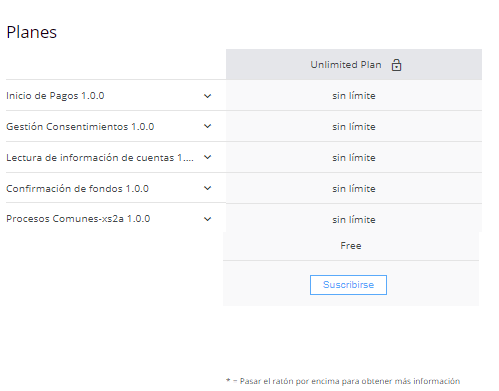
From the operations interface, click on the "Subscribe" button:

And it takes us to the subscription interface to a plan. We click on the plan that interests us:
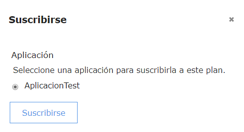
If this is the first time we have chosen a subscription to a plan, and we don't have an application discharged, we will be required to register an application:

The detail of how to generate applications, the application registration section is explained. If we already have an application registered, it would appear in a list:
Once we have made the subscription, we should receive an email to the registration account, indicating that the account is already subscribed to the selected plan. This email, in principle, would arrive in a maximum time of one day. If not, please send an email to psd2.sandbox.soporte@redsys.es
Test operations
In this section we describe how to perform a test invocation from the web. As a prerequisite, as described above, at a minimum, it is necessary to be logged in as a user, have an application created, and that this is subscribed to a plan.
Authentication with oAuth2
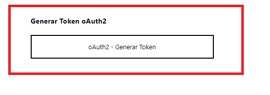
Before the request is launched, it must be taken into account that an oAuth2 token must be generated.
To generate the token, just go to the "oAuth2" tab (For logged in users):
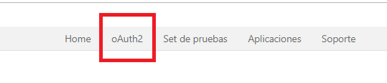
On the left of the screen, we have the menu:
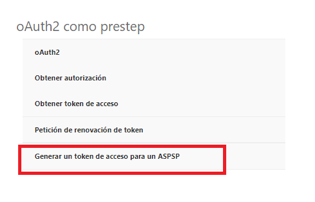
By clicking on the indicated button, we go to a login form. This form would be simulating the authentication form of the financial institution in which we are currently in session.
It should be taken into account that the Sandbox environment is a simulation environment. Therefore, the login data would also be part of the simulation. The credentials at this time are common to all simulated EFs: "user1" password: "1234" . These credentials are available in the entity's documentation.
Once we login the form, we would return an authentication token:

This token should be reported in the corresponding authentication header:
Authorization: Bearer TOKENVALUE
Certificates
One of the mandatory headers in the query request is the certificate: TPP-Signature-Certificate. On this website, in the "Certificates" tab, a generic certificate is available, which can be used to invoke.
This field is the one used to identify the TPP. Therefore, the use of the generic certificate must be temporary. It is necessary to have your own certificate, which identifies the TPP that makes the request.
Please note that the field 'organizationId', contained in the certificate, must be equal to the value reported in the field 'client_id', in the authentication flow of oAuth2.
Launch petition
We access the web interface, the operations console. We navigate / Scroll down until we find the operation that interests us:

As we see, in each operation, there are three fields to highlight: The endpoint of the Sandbox environment, the identification (where we inform the Client-ID) and the body of the request.
When we have informed the request as we are interested, with the corresponding fields, we click on “Call operation” to execute the invocation and check the results.
Common mistakes when using the operation console
The operations console, as mentioned, is the part of the web from which operations can be launched against the service.
An interface is provided to use invocations, for each service. In this case, we comment on the most common errors, which can occur using this console. From now on, we will refer to this console as "API-ONLINE" , since on the web, it is referred to with this name.
The errors collected in this section start from the same case: A user clicks on the "Operation" button to invoke the service, and obtains the following messages:
Unauthorized – Invalid client id or secret
Console message:
"httpCode": "401",
"httpMessage": "Unauthorized",
"moreInformation": "Invalid client id or secret."
The user must be logged in to use the API-Online. You must also have registered an application , and the application must have a subscription and be approved, as explained in previous sections.
FORMAT_ERROR - HEADER: X-Request-ID
Console message:
{
"tppMessages": [
{
"category": "ERROR",
"code": "FORMAT_ERROR",
"path": "HEADER: X-Request-ID",
"text": "Format of certain request fields are not matching the XS2A requirements."
}
],
"transactionStatus": "RJCT"
}
This message occurs when the user does not report the X-Request-ID field. This is a header, and an example of this field is provided in the documentation. This is a mandatory field in all calls, and it should be taken into account that it must be modified in each request (That is, the same X-Request-ID cannot be reused)
TOKEN_UNKNOWN
Console message:
{
"tppMessages": [
{
"category": "ERROR",
"code": "TOKEN_UNKNOWN",
"text": "The OAuth2 token cannot be matched by the ASPSP relative to the TPP"
}
]
}
The oAuth2 token must be generated from the “oAuth2” tab, using the “Generate Token” button. Then, this token is reported in the "Authorization" field, with the format "Bearer generated token’ ".
It may be a common error that the ASPSP field is not reported correctly. If no entity is selected when sending the message, automatically, you would be selecting “redsys” in the ASPSP field, generating the error mentioned above.
Therefore, if the token is generated for BBVA (for example) in the ASPSP field, BBVA must be reported.
The ASPSP field is part of the url, and is set as a selectable combo in the operation console.